Using the Admin UI
The Ego administrative UI allows you to easily mangae your applications, users, groups, and policies all from a single web interface.
Logging In
To log into the Ego admin UI:
- Go to
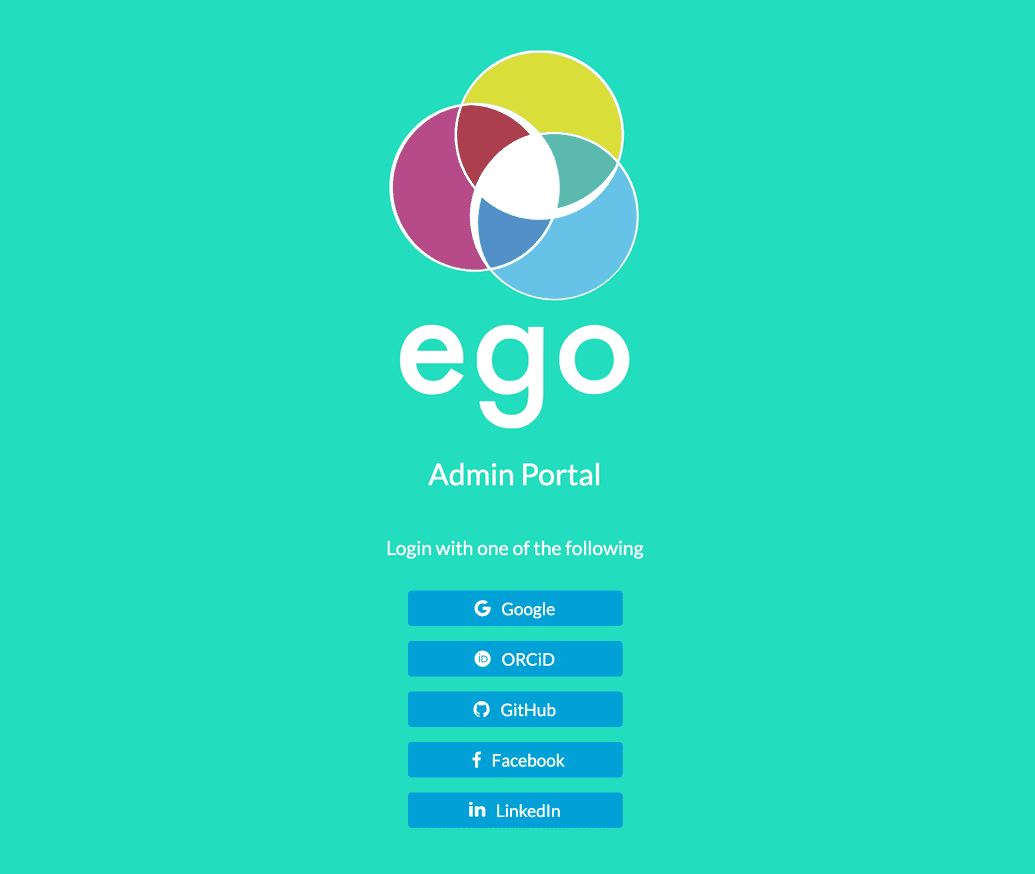
<url>/ego-ui(where<url>is the base URL or domain where you have deployed Ego):
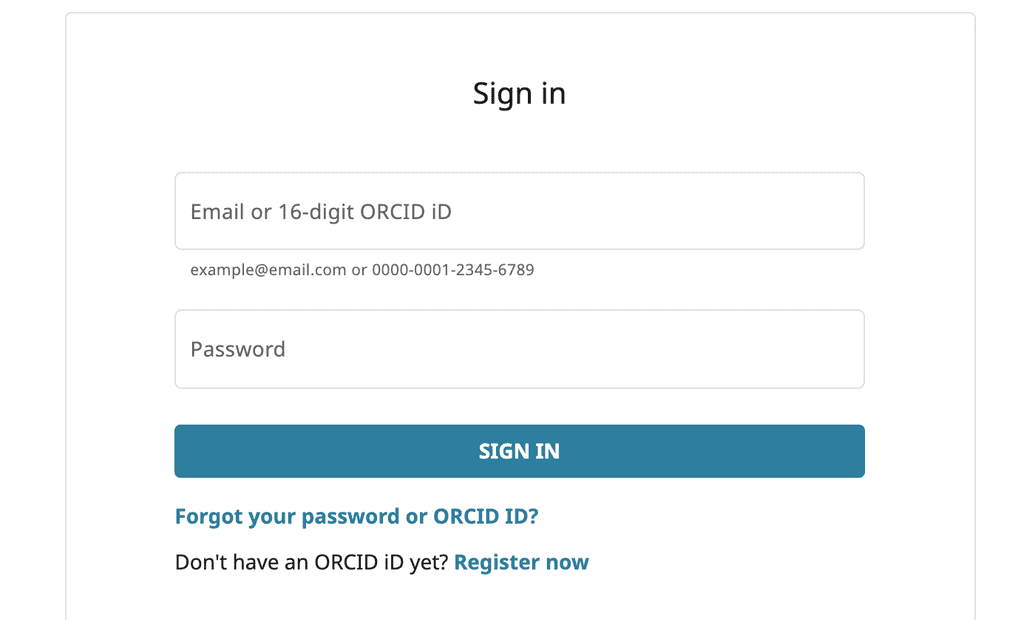
- Select the identity provider that you wish to login with. The following example uses ORCiD:
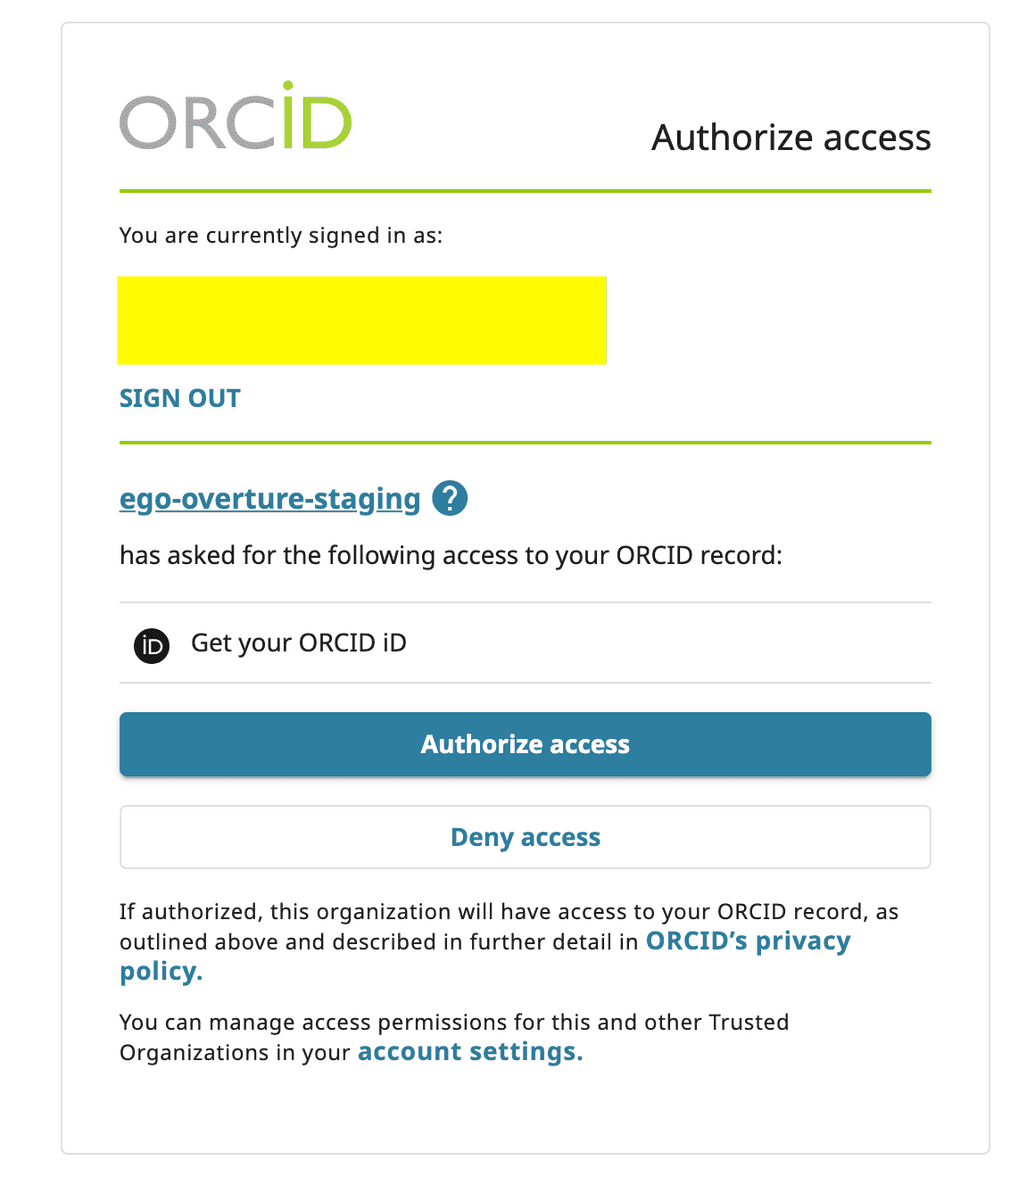
- Grant access to Ego to your profile on the identity provider. For example:
NOTE: If you deny access to Ego, then your only alternative is to log in again with a different identity provider with which you are comfortable granting access.
- After granting access, if the email address on your identity provider profile is not configured to be publicly accessible, you may receive an error message indicating so:
If the identity provider you are using allows such a setting, you must change the email to be accessible. For instructions on how to do so, see here. However, if you do not wish to make your email accessible for that provider, your only alternative is to log in again with a different provider that does not have such a setting, or for which you do not mind exposing the email.
- Once successfully logged in, you will see the list of users registered in Ego displayed by default:
Managing Applications
An application is a third party service that registers itself with EGO so that EGO can authorize users on its behalf. Upon registration, the service must provide secure credentials in the form of a Client ID and Client Secret pair that you have generated.
Creating an Application
To create a new application:
Click Applications from the lefthand menu, then click Create in the righthand panel.
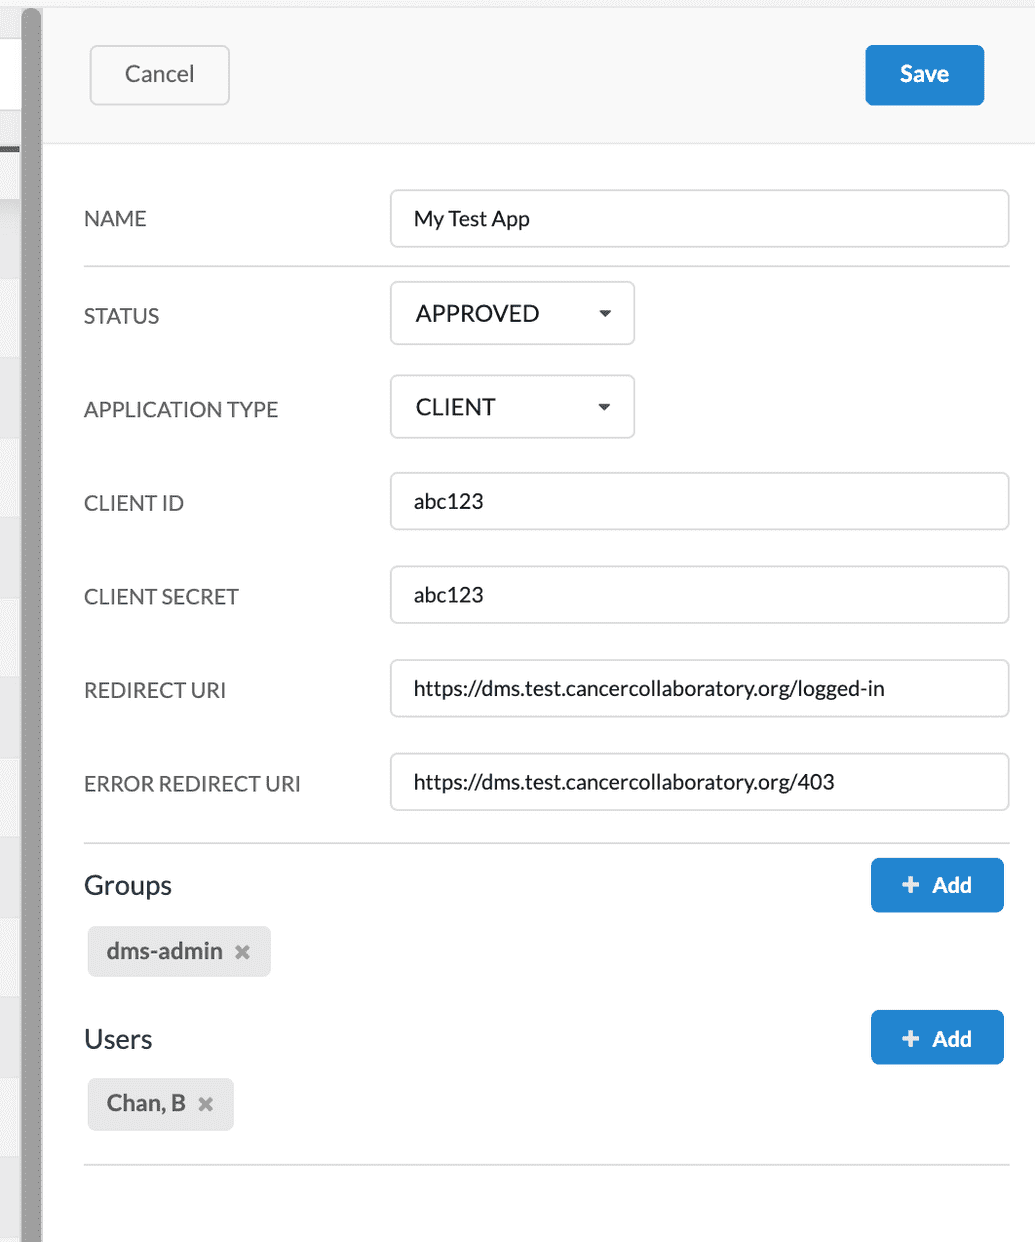
The application fields appear in the righthand panel. Populate them as follows:
| Field | Description |
|---|---|
| Name | Descriptive name for your application |
| Status | Status of the application, determines if it is enabled for use or not. Value can be DISABLED, APPROVED, PENDING, REJECTED. To enable your app for use, select APPROVED. |
| Application Type | Indicates whether the application is a client to Ego, or an administrative app. Unless this is the Ego UI app entry itself, then you must set this to CLIENT. |
| Client ID | Secure Client ID of the application, used to authenticate with Ego. |
| Client Secret | Secure Client Secret of the application, used to authenticate with Ego. |
| Redirect URI | URI where you want to redirect the user after successfully logging into your app. |
| Error Redirect URI | URI where you want to redirect the user in case an authentication error occurs when logging into your app. Typically this should be a proper auth error page you want to display. |
| Groups | Use the + Add button to add existing groups that will be able to use this application. Alternatively, to remove a group, click X to the right of the group. |
| Users | Use the + Add button to add existing users who will be able to use this application. Alternatively, to remove a user, click X to the right of the user. |
- Click Save. The application is created and you can now assign groups and users to it.
Editing an Application
To edit an application:
- Click Applications from the lefthand menu, then click the app you want to edit from the applications table.
- The app's details pane is displayed on the right. Click Edit and modify the fields as required. The fields are the same as described earlier in Creating an Application.
Deleting an Application
To delete an application:
Click Applications from the lefthand menu, then click the app you want to delete from the applications table.
The app's details pane is displayed on the right. Click Delete. You will be asked to confirm the deletion.
NOTE: Before deleting an application make sure this is what you intend, as the operation cannot be reversed. You can, of course, manually re-create the app if required, but the details will have been lost.
Managing Policies
A policy is a scope or context for which an application may want to grant READ/WRITE/DENY permissions to a particular user or group. The permissions are:
READ- Grants read-only access to a particular resourceWRITE- Grants read & write access to a particular resourceDENY- Denies access to a particular resource
Policies are flexible in configuration and it is up to the administrator to determine, based on their requirements, what permissions that policy should grant and to whom (users, groups).
Permission Inheritance
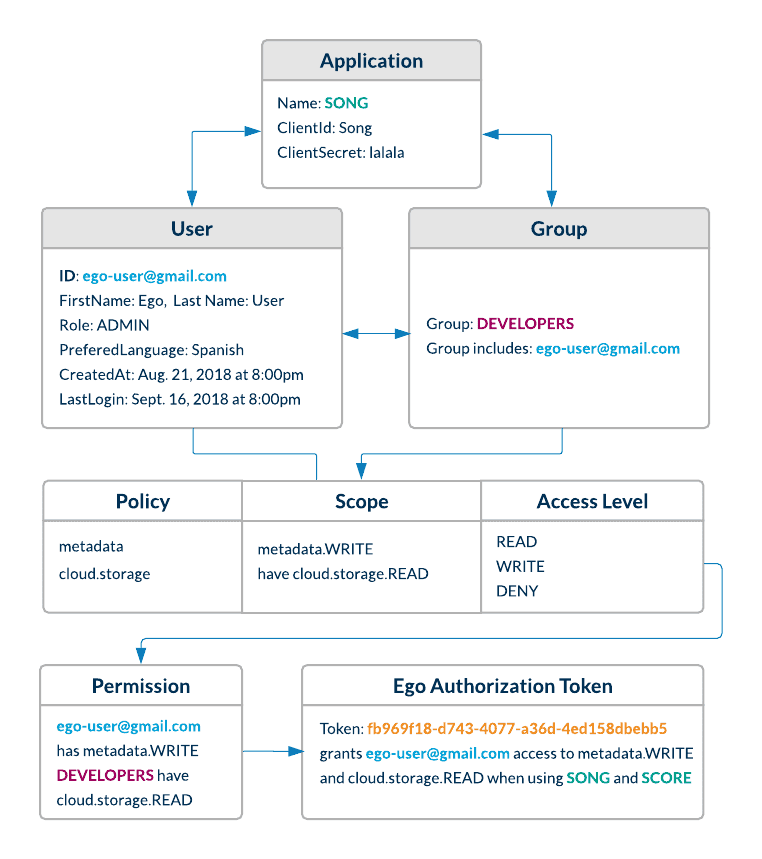
Before proceeding, it is important to understand how the permissions described earlier are inherited. First, here is the entity relationship diagram introduced earlier:
Observe that a user can have permissions assigned directly against their profile (their user ID), while simultaneously the group they belong to will have permissions assigned against that group. As such, the user inherits permissions that are directly against their profile and those from groups they belong to.
This raises a valuable question: What happens if a user has seemingly conflicting permissions assigned against their profile and against their group? For example:
- User ID
abc123is directly assigned permissionSONG.WRITE - Meanwhile, user
abc123also belongs to groupTestGroupandTestGroupis assigned permissionSONG.DENY
How do these resolve?
In the Ego permission inheritance scheme, only the permission level matters, not the source. That is, it doesn't matter whether the permission comes from the user profile or the group. What matters is the strictness of the actual permissions (READ/WRITE/DENY) assigned. In Ego, the least-permissive permission is the one that will resolve and be used. Thus, in our example above, it does not matter that user abc123 has SONG.WRITE, because TestGrouphas the more restrictive permission,SONG.DENY`.
It is important to note that the Ego API has two separate endpoints to retrieve user-level permissions:
users/{id}/permissions- This returns permissions assigned directly to the userusers/{id}/groups/permissions- This returns the ultimate resolved permissions that a user would have from direct permissions and group permissions
NOTE: In the Ego Admin UI, when viewing a user's permissions on their details pane, ONLY the ultimate resolved permissions are displayed.
Creating a Policy
To create a new policy:
Click Policies from the lefthand menu, then click Create in the righthand panel.
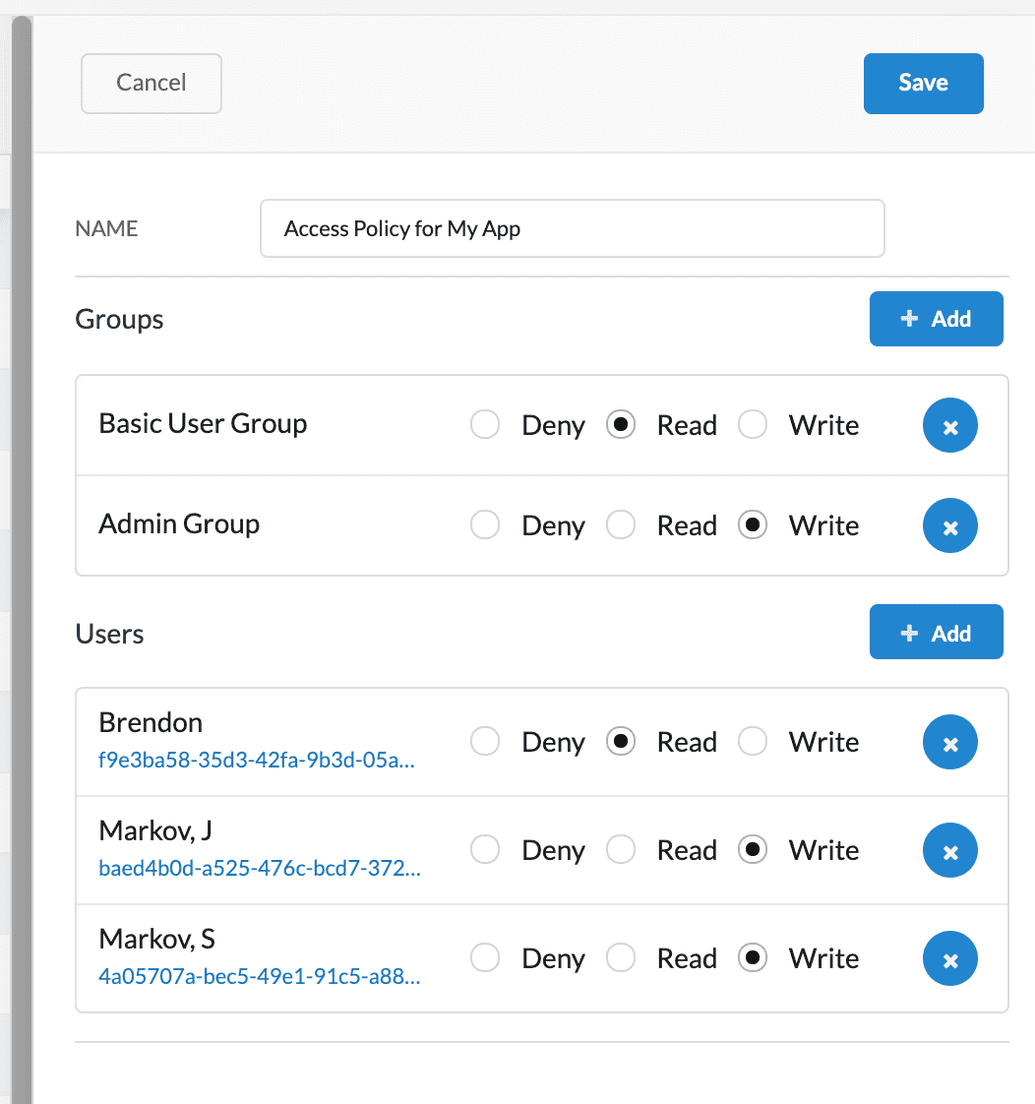
The policy fields appear in the righthand panel. Populate them as follows:
| Field | Description |
|---|---|
| Name | Descriptive name for your policy |
| Groups | Use the + Add button to add existing groups that will have this policy applied to them. Once you add a group, you must also specify whether they are granted the READ, WRITE, or DENY access level. Alternatively, to remove a group, click X to the right of the group. |
| Users | Use the + Add button to add existing users who will have this policy applied to them. Once you add a user, you must also specify whether they are granted the READ, WRITE, or DENY access level. Alternatively, to remove a user, click X to the right of the user. |
- Click Save. The policy is created and the users and groups you have assigned to it will be granted only the particular permissions that you have specified for them.
Editing a Policy
To edit a policy:
- Click Policies from the lefthand menu, then click the policy you want to edit from the policies table.
- The policy's details pane is displayed on the right. Click Edit and modify the fields as required. The fields are the same as described earlier in Creating a Policy.
Deleting a Policy
To delete a policy:
- Click Policies from the lefthand menu, then click the policy you want to delete from the policies table.
- The policy's details pane is displayed on the right. Click Delete. You will be asked to confirm the deletion.
NOTE: Before deleting a policy make sure this is what you intend, as the operation cannot be reversed. You can, of course, manually re-create the policy if required, but the details will have been lost.
Managing Groups
A groups define a set of users with similar properties. Admins can create new groups and add users to them. They can then assign permissions to an entire group which will be reflected for each user in that group. This greatly simplifies permission management for similar users, since the admin only needs to assign a permission to the entire group, instead of each individual user.
Creating a Group
To create a new group:
Click Groups from the lefthand menu, then click Create in the righthand panel.
The group fields appear in the righthand panel. Populate them as follows:
| Field | Description |
|---|---|
| Name | Descriptive name for your group |
| Status | Status of the application, determines if it is enabled for use or not. Value can be DISABLED, APPROVED, PENDING, REJECTED. To enable your group for use, select APPROVED. |
| Description | A more detailed description for your group (optional) |
| Users | Use the + Add button to add existing users who will belong to this group. Once you add a user, they will automatically inherit any permissions (but NOT applications) assigned to the group. Alternatively, to remove a user, click X to the right of the user. |
| Applications | Use the + Add button to add existing applications that this group has access to. Alternatively, to remove an application, click X to the right of the application. |
| Permissions | Use the + Add button to add existing policies (permission sets) that should apply to this group. Once you add a policy, you must also specify whether the group is granted the READ, WRITE, or DENY access level for that policy. Alternatively, to remove a policy, click X to the right of the user. |
- Click Save. The group is created and the users and groups you have assigned to it will be granted only the particular permissions that you have specified for them.
Editing a Group
- Click Groups from the lefthand menu, then click the group you want to edit from the groups table.
- The group's details pane is displayed on the right. Click Edit and modify the fields as required. The fields are the same as described earlier in Creating a Group.
Deleting a Group
To delete a group:
- Click Groups from the lefthand menu, then click the group you want to delete from the groups table.
- The group's details pane is displayed on the right. Click Delete. You will be asked to confirm the deletion.
NOTE: Before deleting a group make sure this is what you intend, as the operation cannot be reversed. You can, of course, manually re-create the group if required, but the details will have been lost.
Managing Users
A user is any individual registered in Ego who needs to authorize themselves with Ego-aware applications.
 User Creation
Users are created automatically in Ego after they successfully log into an Ego-aware application (including the Ego Admin UI itself) via a supported OAUTH identity provider. There is NO ability for to manually create users through the admin UI or the API. This ensures that user creation only occurs by successfully authenticating with a supported identity provider.
Editing a User
To edit an existing user:
- Click Users from the lefthand menu, then click the user you want to edit from the user table.
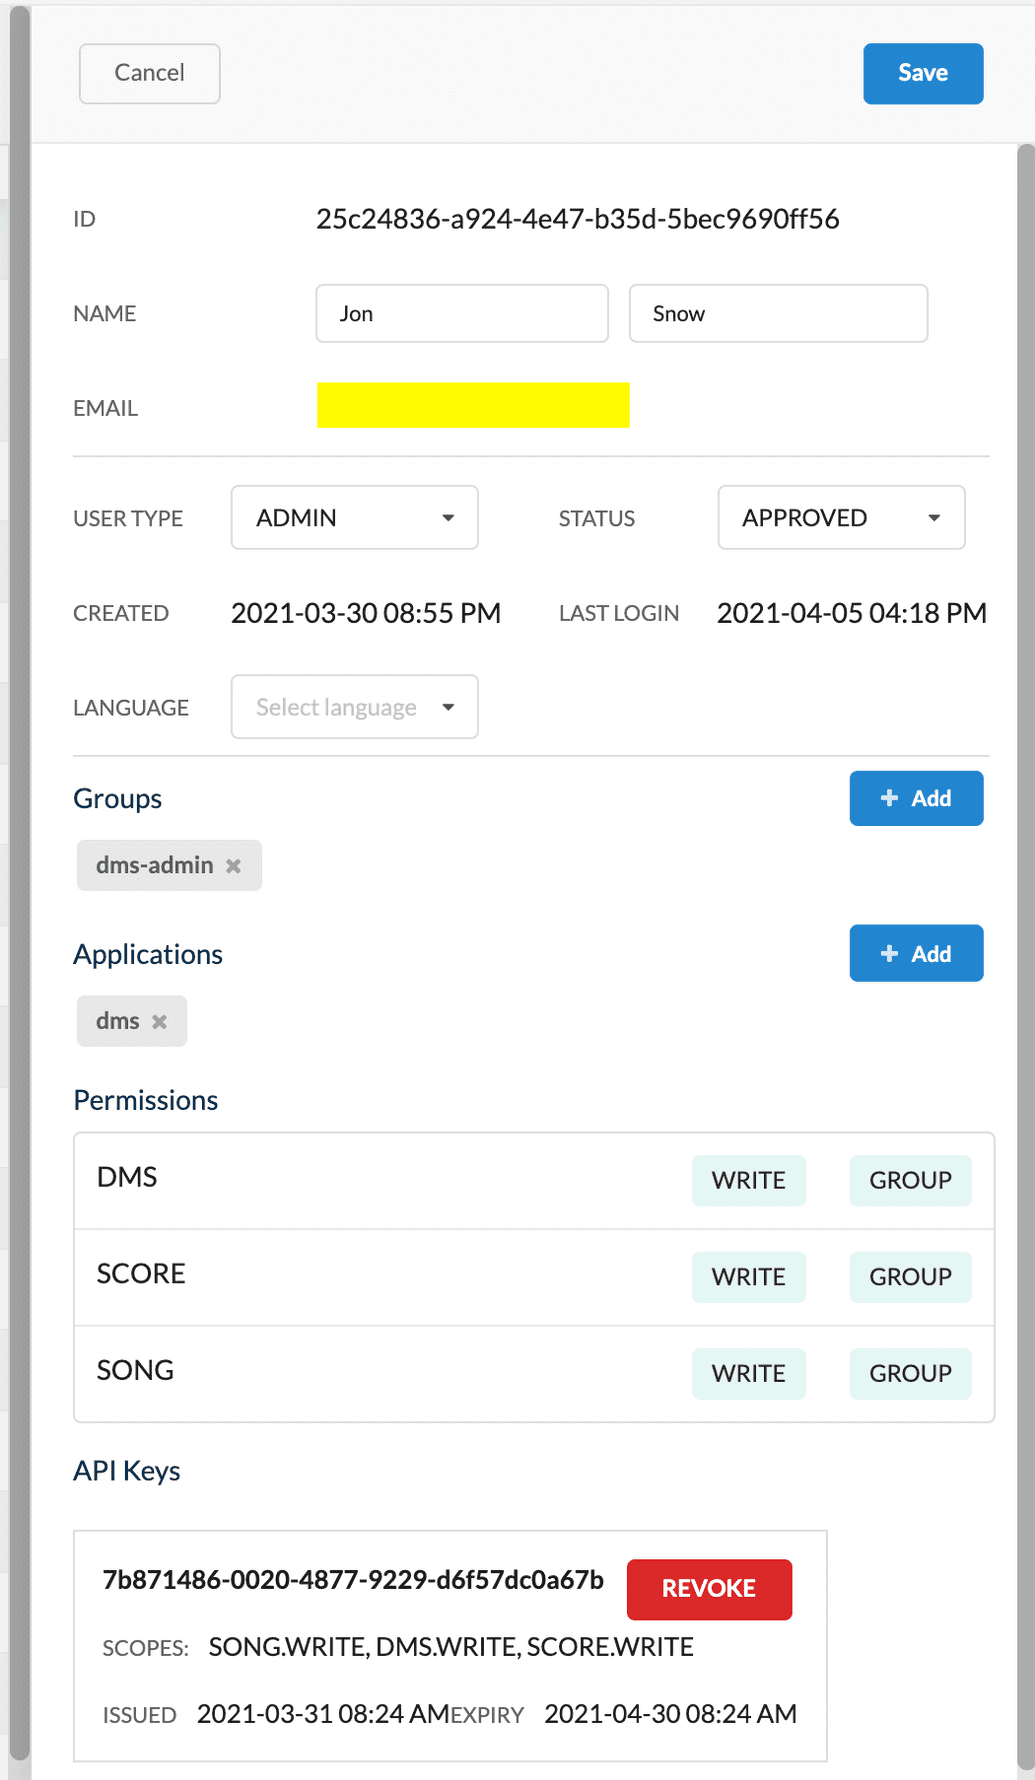
- The user's details pane is displayed on the right. Click Edit and modify the fields as required:
| Field | Description |
|---|---|
| ID | Unique ID representing the user internally in Ego. Auto-generated by Ego and cannot be modified (read-only). |
| Name | Two input boxes to modify the user's first and last names. By default, these values are initially populated with the names as received from the identity provider during the first login. However, after the first login, the administrator is free to update these as required, the values are not synchronized with the identity provider afterwards. |
| User's contact email. Auto-populated based on the email received from the identity provider during the first login. This value cannot be modified (read-only) and is not synchronized with the identity provider after the first login. | |
| User Type | Select one of ADMIN or USER. If set to ADMIN, then this user can perform administrative functions via the Ego Admin UI and the API. |
| Status | Status of the user, determines if it is enabled for use or not. Value can be DISABLED, APPROVED, PENDING, REJECTED. To enable the user to have access to Ego-aware applications, select APPROVED. All other statuses will prevent the user from having access. |
| Created | Date & time when the user was first created. Read-only, cannot be modified. |
| Last Login | Date & time when the user last logged in. Read-only, cannot be modified. |
| Language | Select the user's language preference. Note that this field is currently only cosmetic, it does not drive any language-aware behaviour in the applications. |
| Groups | Use the + Add button to add existing groups that you want this user to belong to. Once you add a group, the user will automatically inherit any permissions (but NOT applications) assigned to the group. Alternatively, to remove a group, click X to the right of the group. |
| Applications | Use the + Add button to add existing applications that this user has access to. Alternatively, to remove an application, click X to the right of the application. |
| Permissions | List of policies (permission sets) assigned to this user and the specific READ/WRITE/DENY access granted for each policy. This list is read-only and cannot be modified. To assign a user to a policy, either edit the desired policy and add the user directly to it, or add the user to a group that already has that policy. |
| API Keys | Lists the user's API keys, if any. Only one API Key can have an ACTIVE status at a time. All historical REVOKED and EXPIRED keys will also be be displayed. If required, you can manually REVOKE an active key from this screen. However, you cannot issue a new API Key (this can only be done via the API, see here). |
Disabling a User
 No User Deletion in UI
Users cannot be deleted via the Ego Admin UI. They can only be disabled. However, if it is absolutely necessary, users can be deleted via the API if the user has the correct administrative privileges. If you wish to delete users via the API, proceed with caution and be absolutely sure before performing the delete, as the user is not recoverable afterwards.
To disable a user:
- Click Users from the lefthand menu, then click the user you want to edit from the user table.
- The user's details pane is displayed on the right. Click Disable. You will be asked to confirm the operation.
- Alternatively, you can also Edit the user, change the
StatustoDISABLED, then click Save.
